


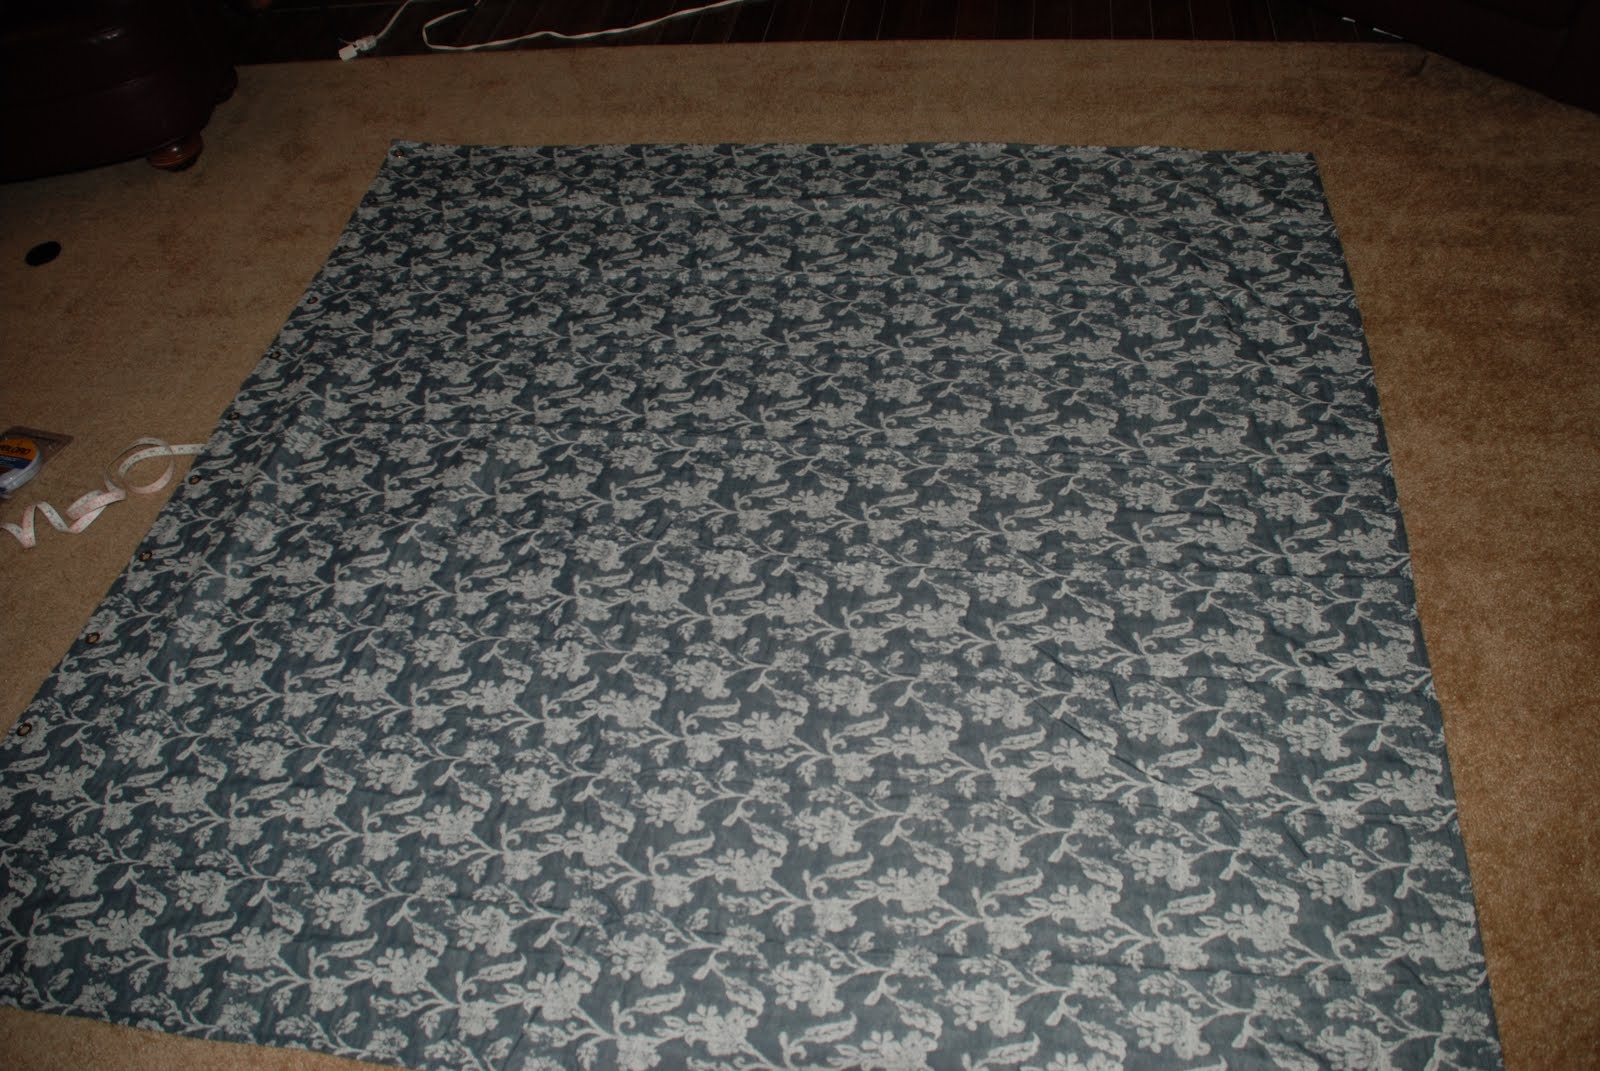
1. I started with a cloth shower curtain I found in the clearance section at Target. At $9.99, you can't beat that. I laid it out flat on the ground and quickly ironed out any obvious kinks.
2. Measure the height of your sink. Add about two inches to that number and cut the large shower curtain down to that size. I measured from the bottom of the curtain up, so I already had a finished edge which resulted in one less edge I would have to turn under. Also, the shower curtain I used had metal grommets along the top that I did not want to use for my skirt. If all your edges are raw, you'll want to add two inches to each edge that will need to be finished.

3. My sink had three sides, and therefore required three panels. Measure the length of one side. Add 4 inches to that number and cut your fabric to size. Next, I used Stitch Witchery to turn the edges under. It's so simple. Cut a piece of Stitch Witchery the same length as your edge, fold the fabric over, place a damp cloth on top of the edge, and iron for 10 seconds. You want the iron to rest for ten seconds on one section before moving down your edge.

4. I ran a line of sticky back velcro along the top edge of the panel, removed the paper, and stuck the panel to the sink, making sure the top ran evenly flush across the top of the sink.


5. Repeat these steps for all sides of your sink. Once I was done with the large panels and had placed them on the sink, I realized there were small areas where the panels did not meet up. So to finish the skirt, I took strips of left over fabric (about five inches wide) and placed one small panel under the corner where the front and side panels come together on each side. This really finished the look and only took a few seconds. The edges on these panels don't need to be finished because they are under the other panels. I adhered them to the sink with the same sticky back velcro is used for the main panels.
6. Admire your work!

Pieces of Advice:
I used a shower curtain because it was cost effective. Also it is made to be around water so I figured it would work perfectly for the area below a sink and ward off drips of water.
You can use the same technique to skirt a table, desk, etc. Sky's the limit here!


No comments:
Post a Comment